Astrophotography 101 by Peter Baumgarten, Olympus Visionary
All images and words by Peter Baumgarten. Learn more about Peter at the end of this post.
Space has always held fascination for me. In my youth I loved Star Trek, Star Wars and Battlestar Galactica. I have also lived most of my life in dark sky areas, thereby allowing unencumbered viewing of the night sky. Photographing the stars however had always seemed out of reach. Until a few years ago.
Like many landscape photographers I would turn off my camera when the sun went down. As I attempted to expand my knowledge and skills in the craft of photography, shooting at night seemed a natural area to explore. Being a relative novice in this area I quickly discovered that to achieve good results a number of stars must align properly (pun intended).
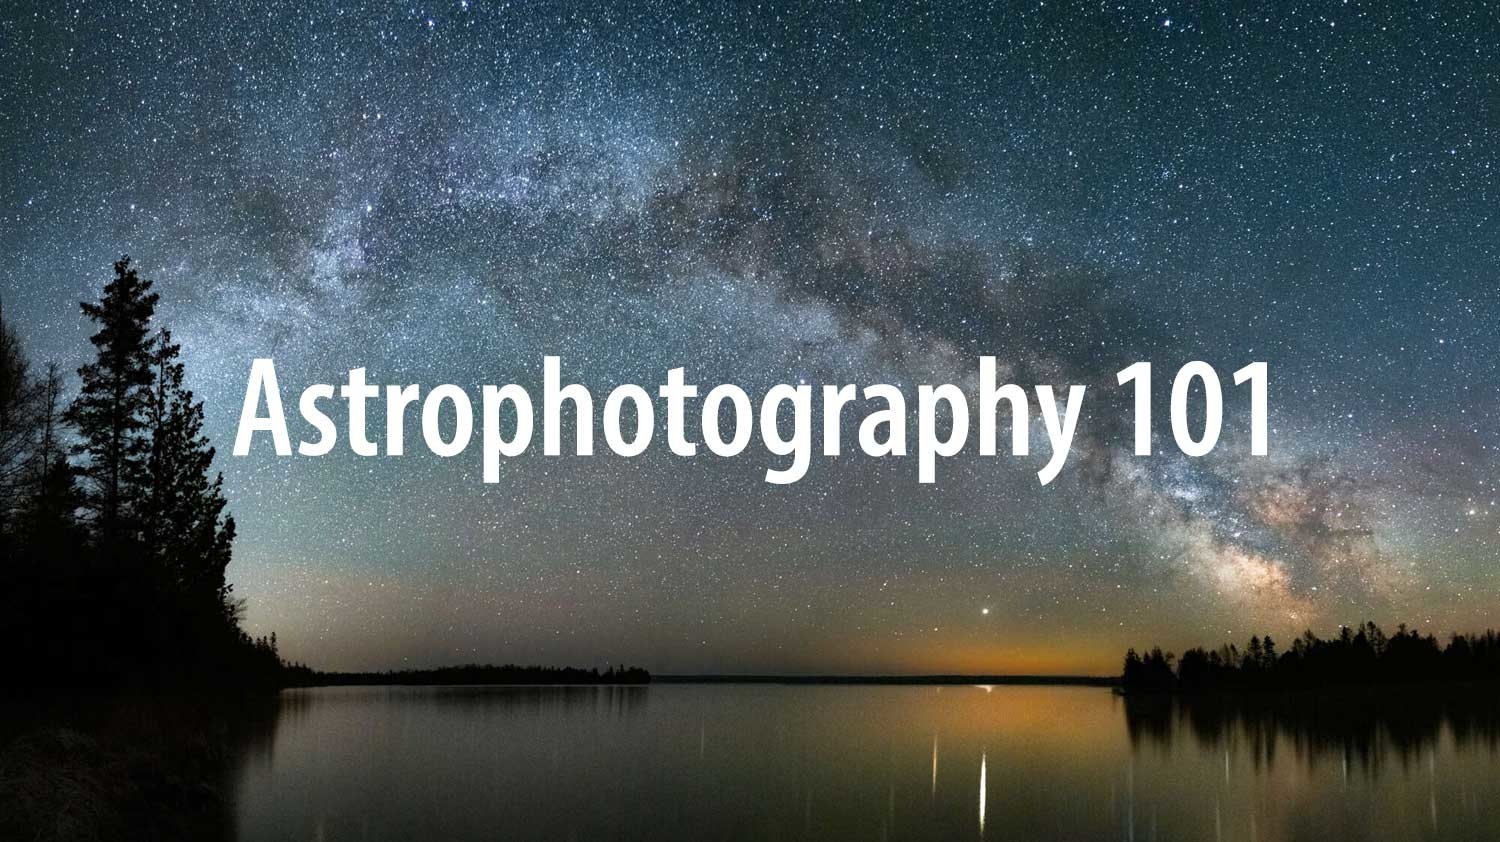
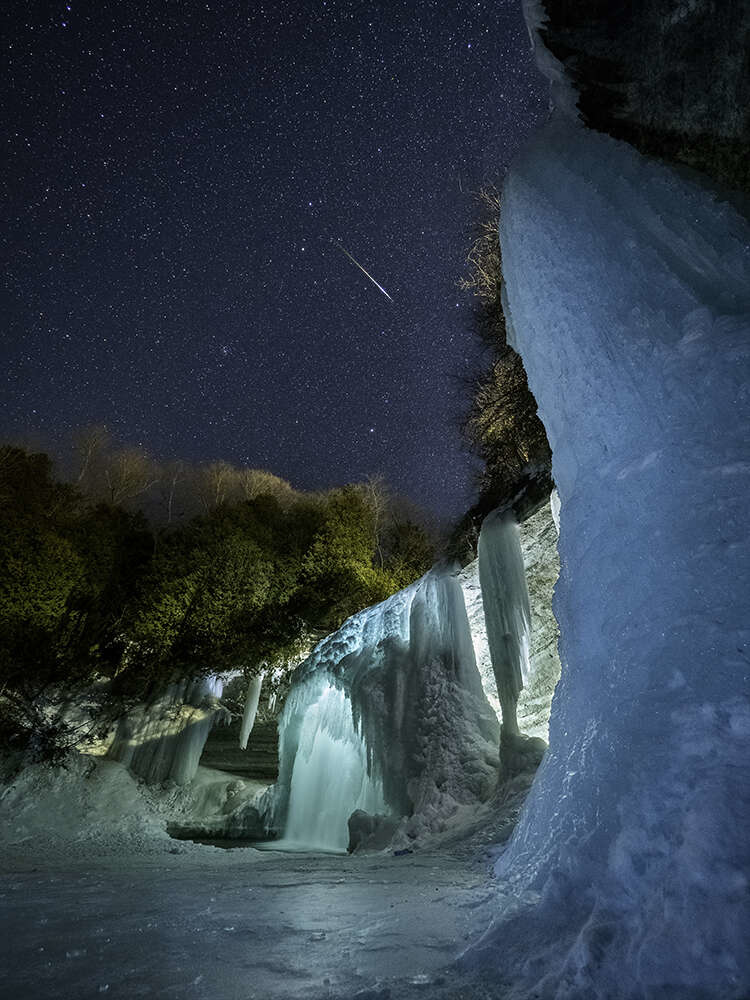
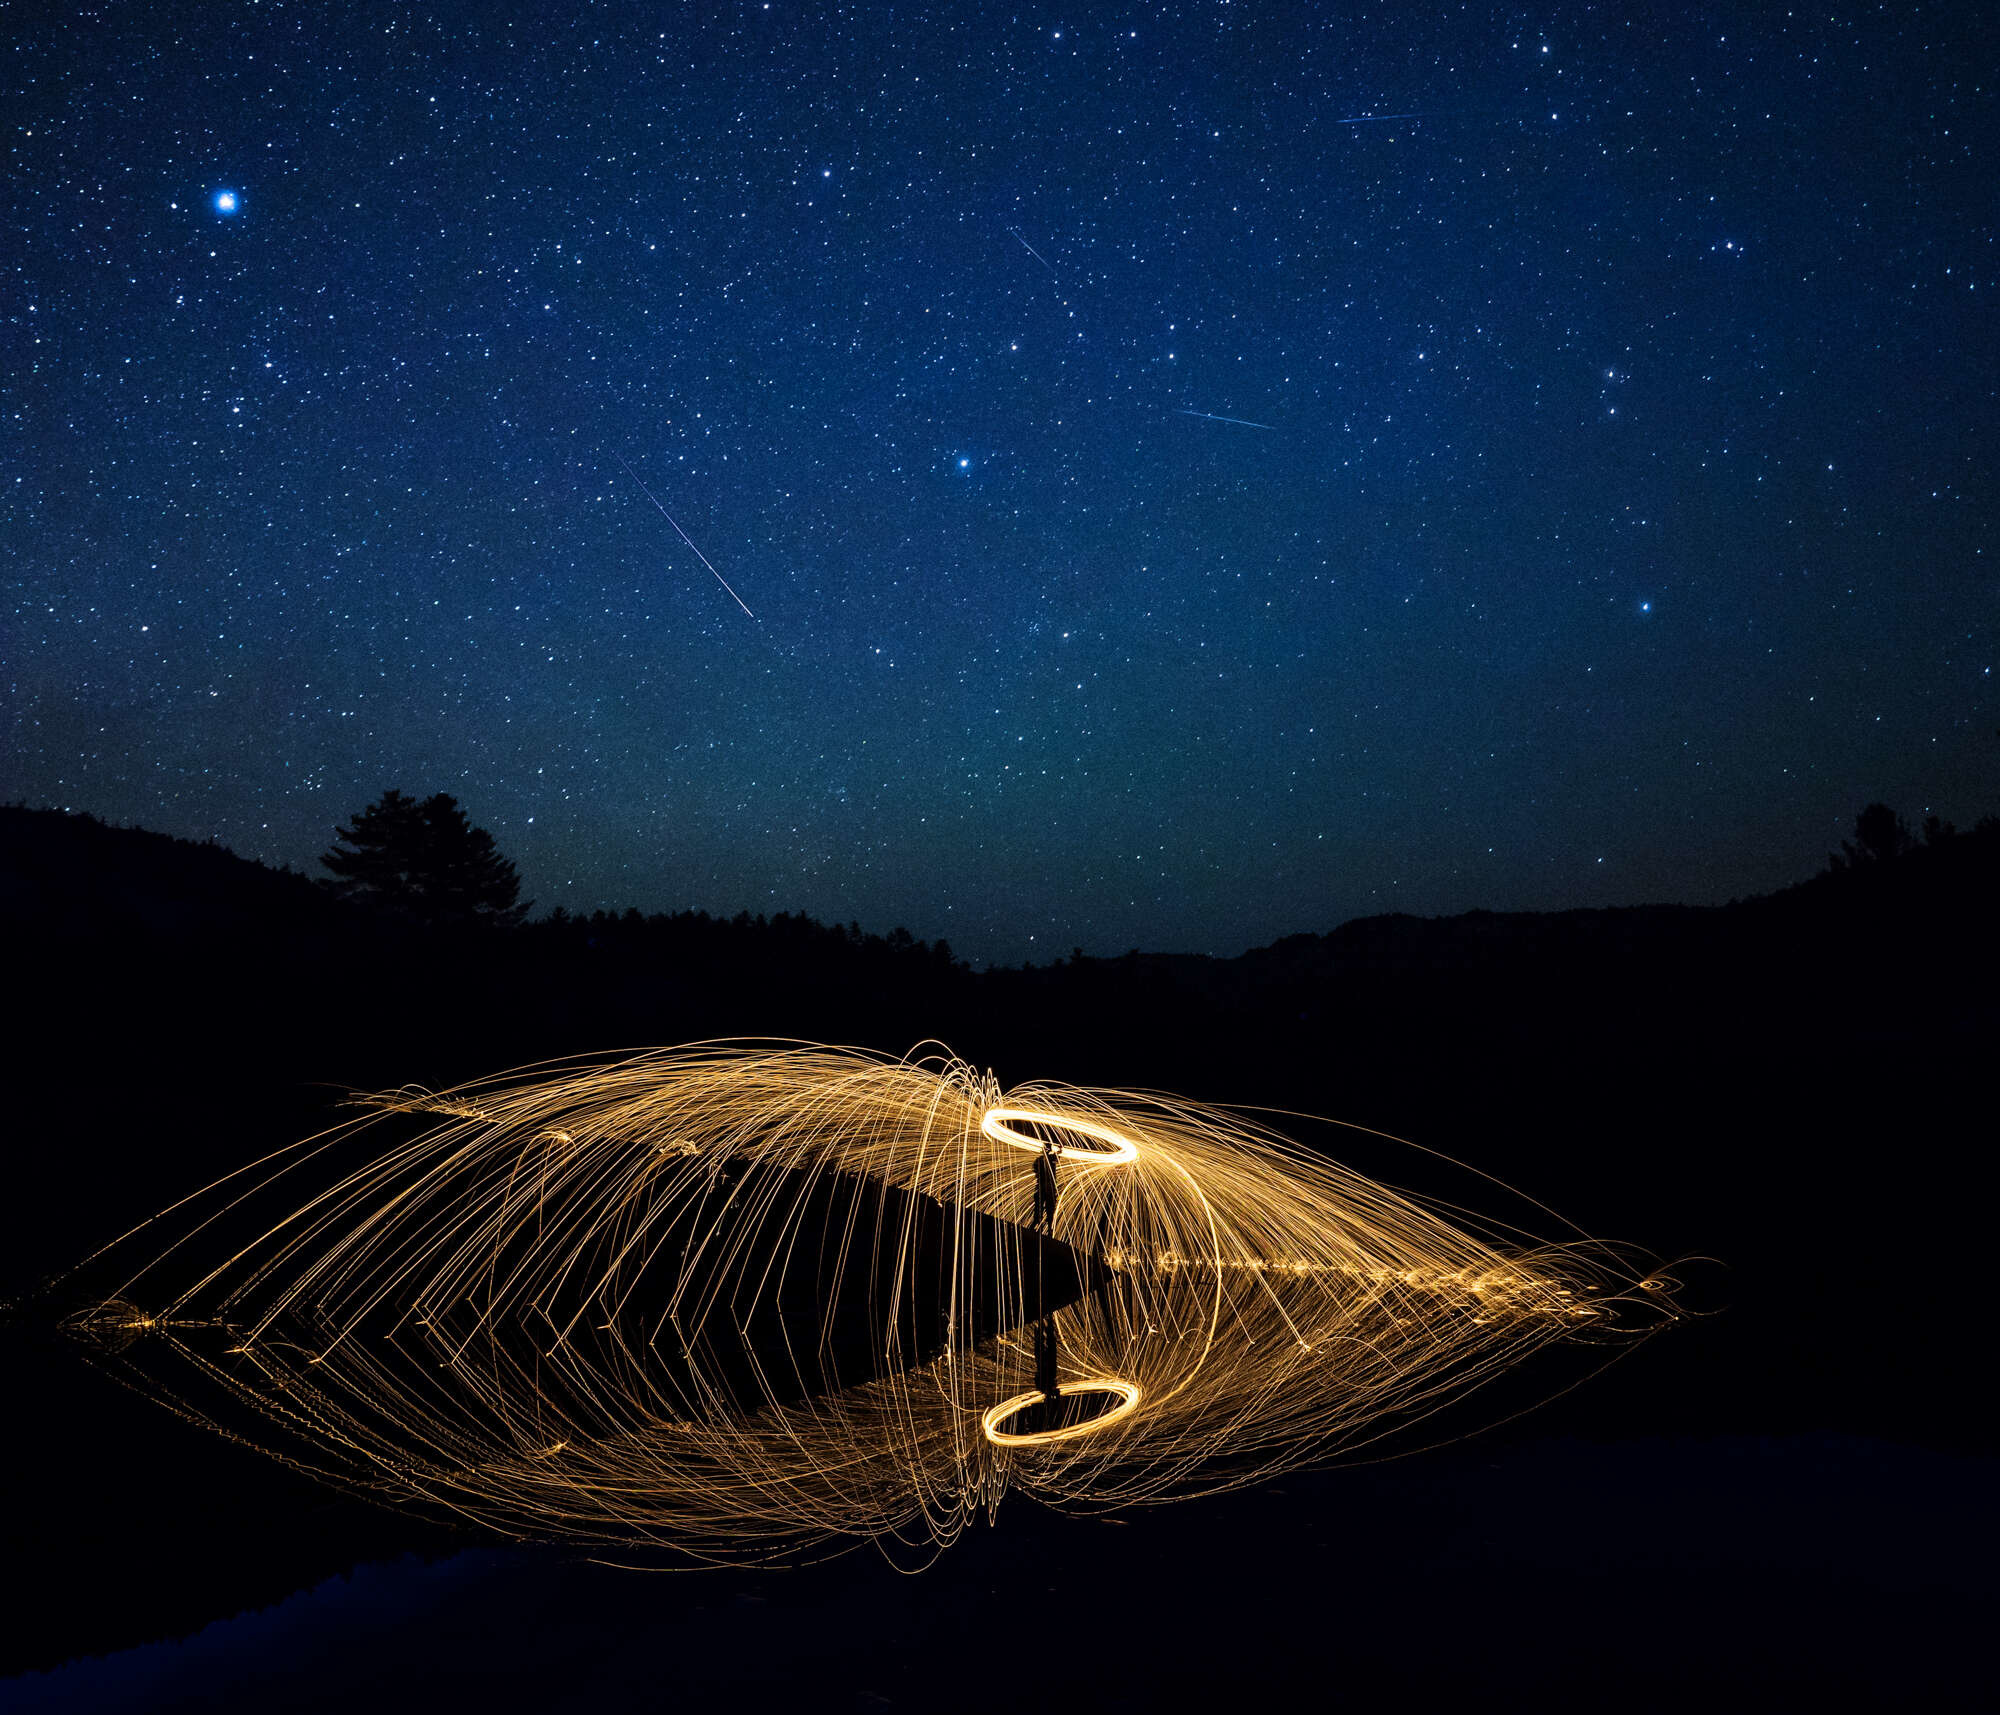
OM-D E-M1 Mark III | M.Zuiko 12mm F2.0
10s | F2 | ISO 3200
Aligning the Stars
Photography and frustration often go hand-in-hand as you try to create the image that you see in your mind's eye. I have had my fair share of that frustration in my night-sky experiments. The following tips might help alleviate some potential frustration for you.
Planning Considerations
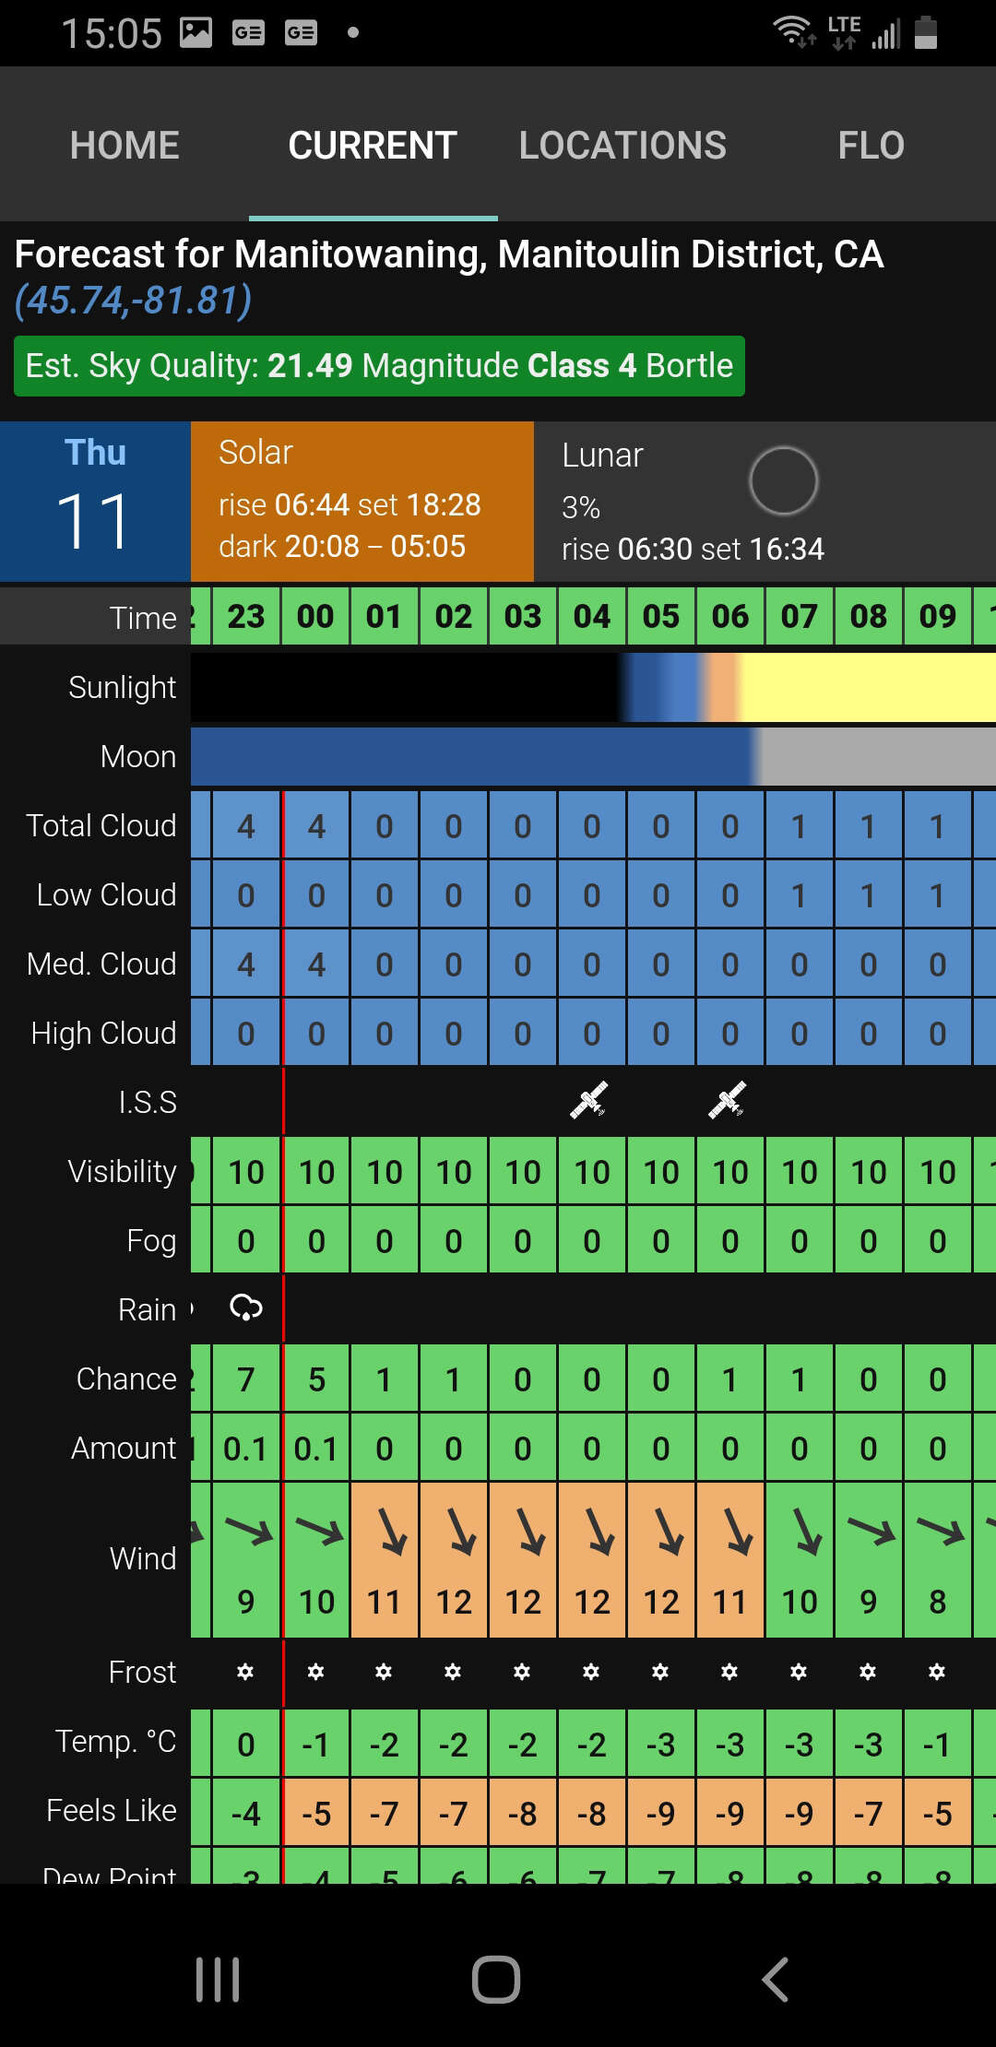
Clear Skies – This may seem obvious but we might as well start with that. Cloudy skies are going to spoil your star party, so I will often plan my night shoots several days in advance by checking the weather forecast. I will also check satellite images to see just how clear those skies are. Humidity can also make a big difference to how many stars show up. Don't let a few clouds deter you however. I have often gotten interesting results with a few cirrus clouds in the sky. I use the Clear Outside website and mobile app for much more detailed information than your local weather forecast will provide.
Light Pollution – Just over 80% of the population in Canada and the U.S. live in urban settings. This might mean a long drive to find a dark sky area. Check out darksky.org to find maps of light pollution levels.
"When the moon hits your eye, like a big pizza pie." Moonlight is really just reflected sunlight and can create light pollution that you just can't escape from. With a bit of planning, there are about 2 weeks every month where you can easily avoid the moon. I use timeanddate.com to check for moonrise and moonset times and cycles.
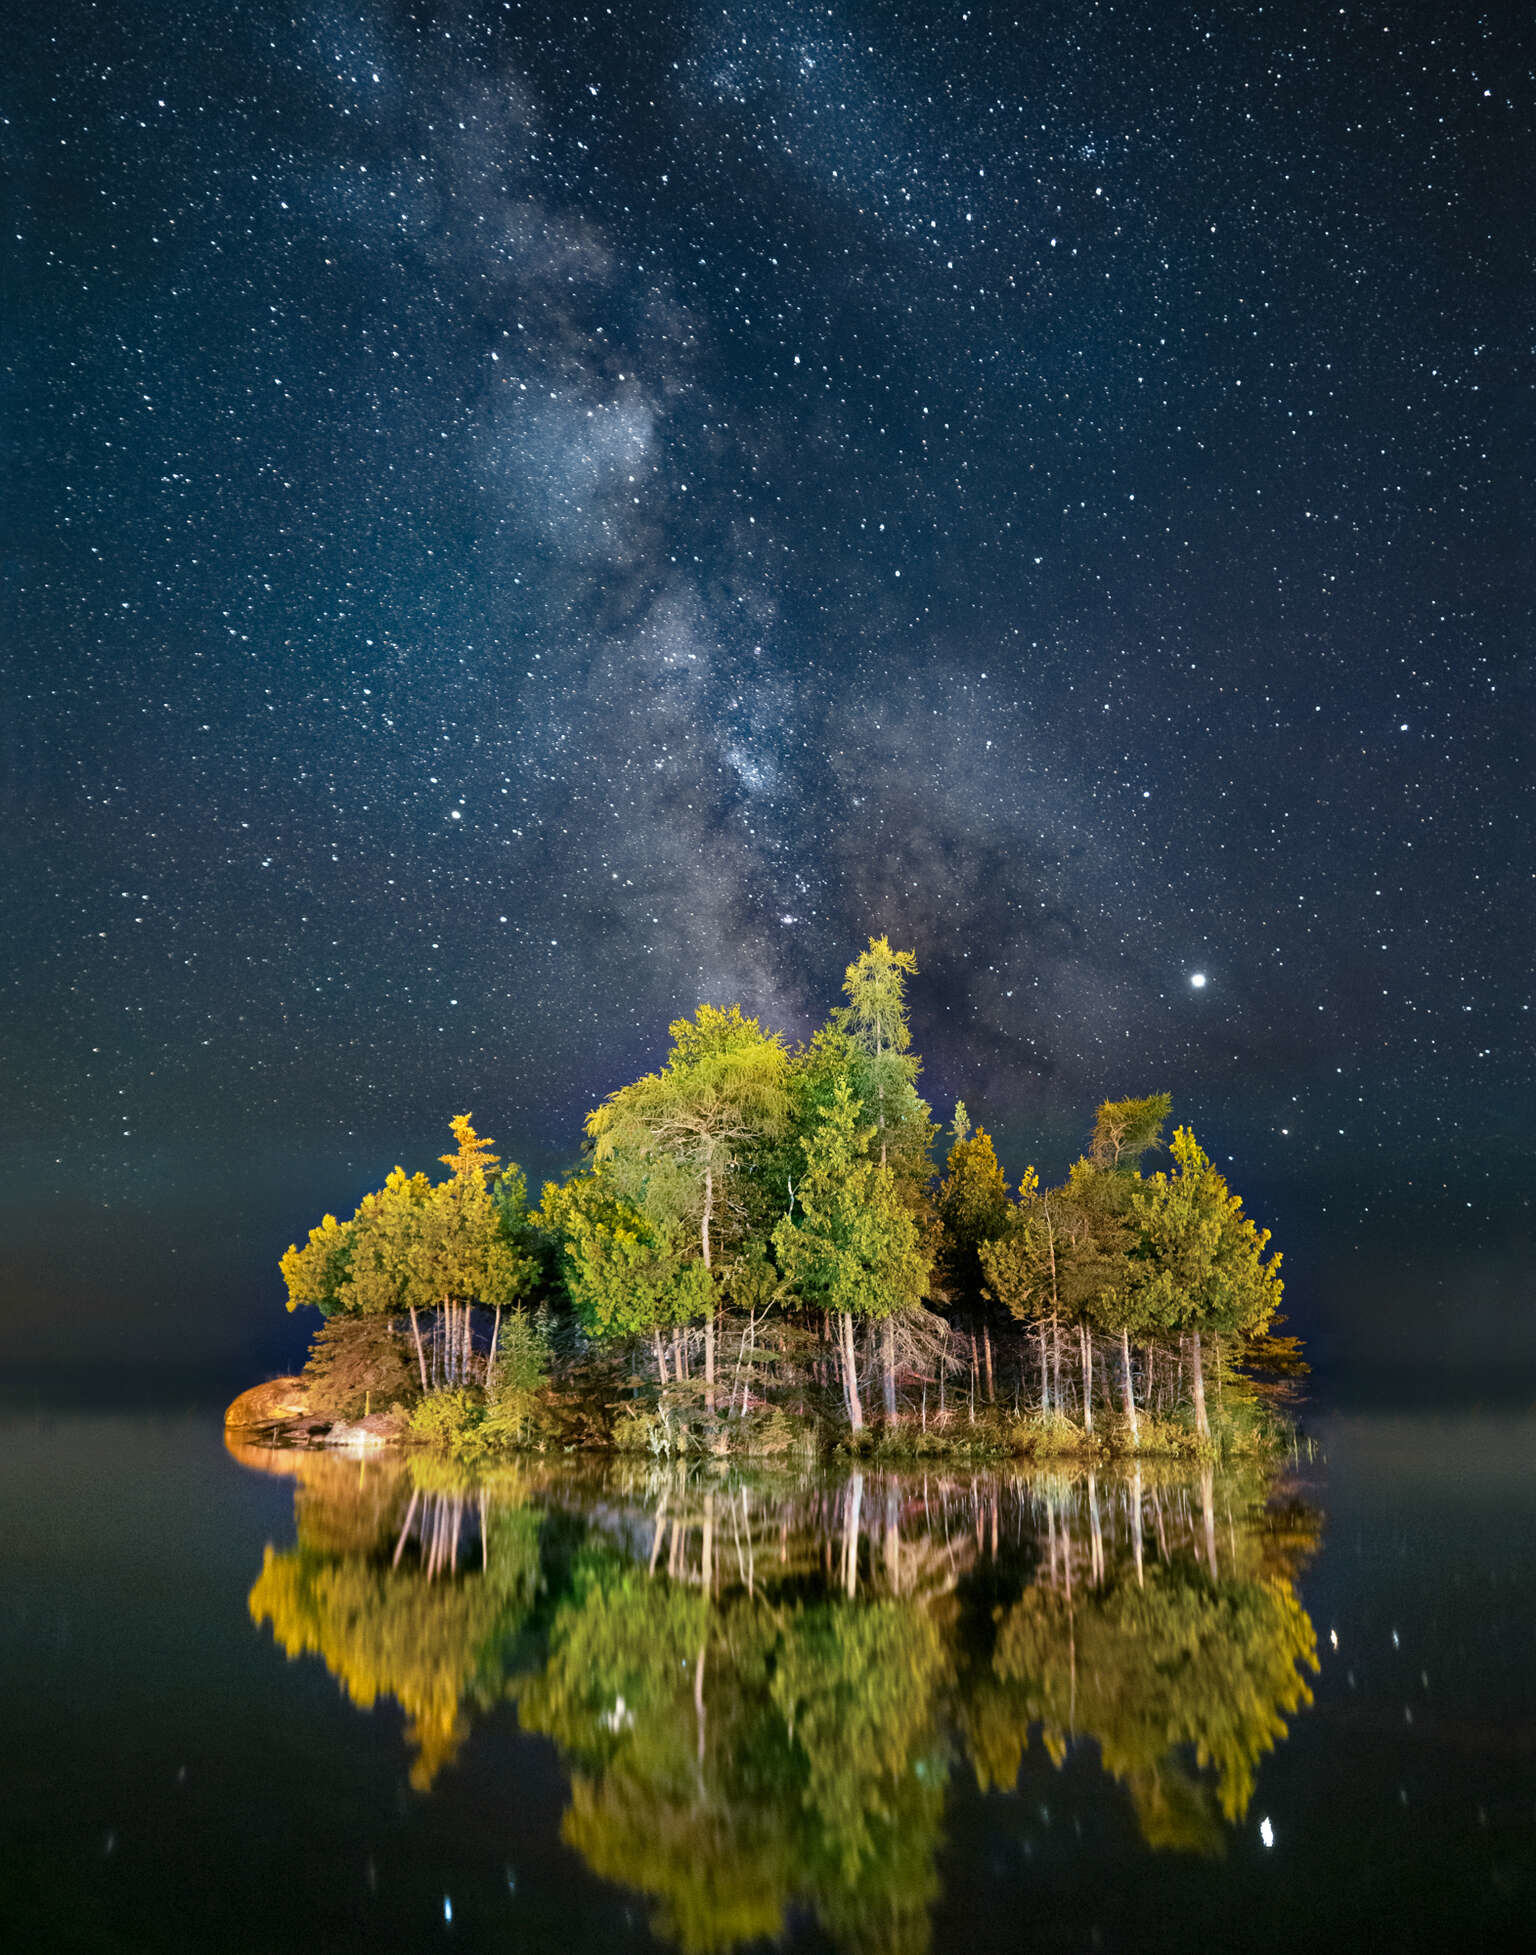
Where’s that darn Milky Way? There are definite seasonal changes to the Milky Way, due to the tilt of the earth. The core of the Milky Way is not visible during the winter months as it is below the horizon. It begins to reappear in March for those in the northern hemisphere, but in order to view it you need to go out very early in the morning – about 4 a.m. As the months go by the Milky Way rises earlier and earlier. By August it is already visible in the night sky by the time the sun sets. Like the sun and moon, the Milky Way rises in the east, but look for the core toward the southern sky.
Personal Comfort – Firing off a couple dozen shots during the day may only take a few minutes. The same number might take well over an hour at night. Make sure to overdress for the conditions in layers that can be removed if you get too warm. Night temperatures drop quickly and often dramatically, even in the summer. I regularly shoot in sub-zero temperatures for hours at time. This is quite manageable with the proper clothing.
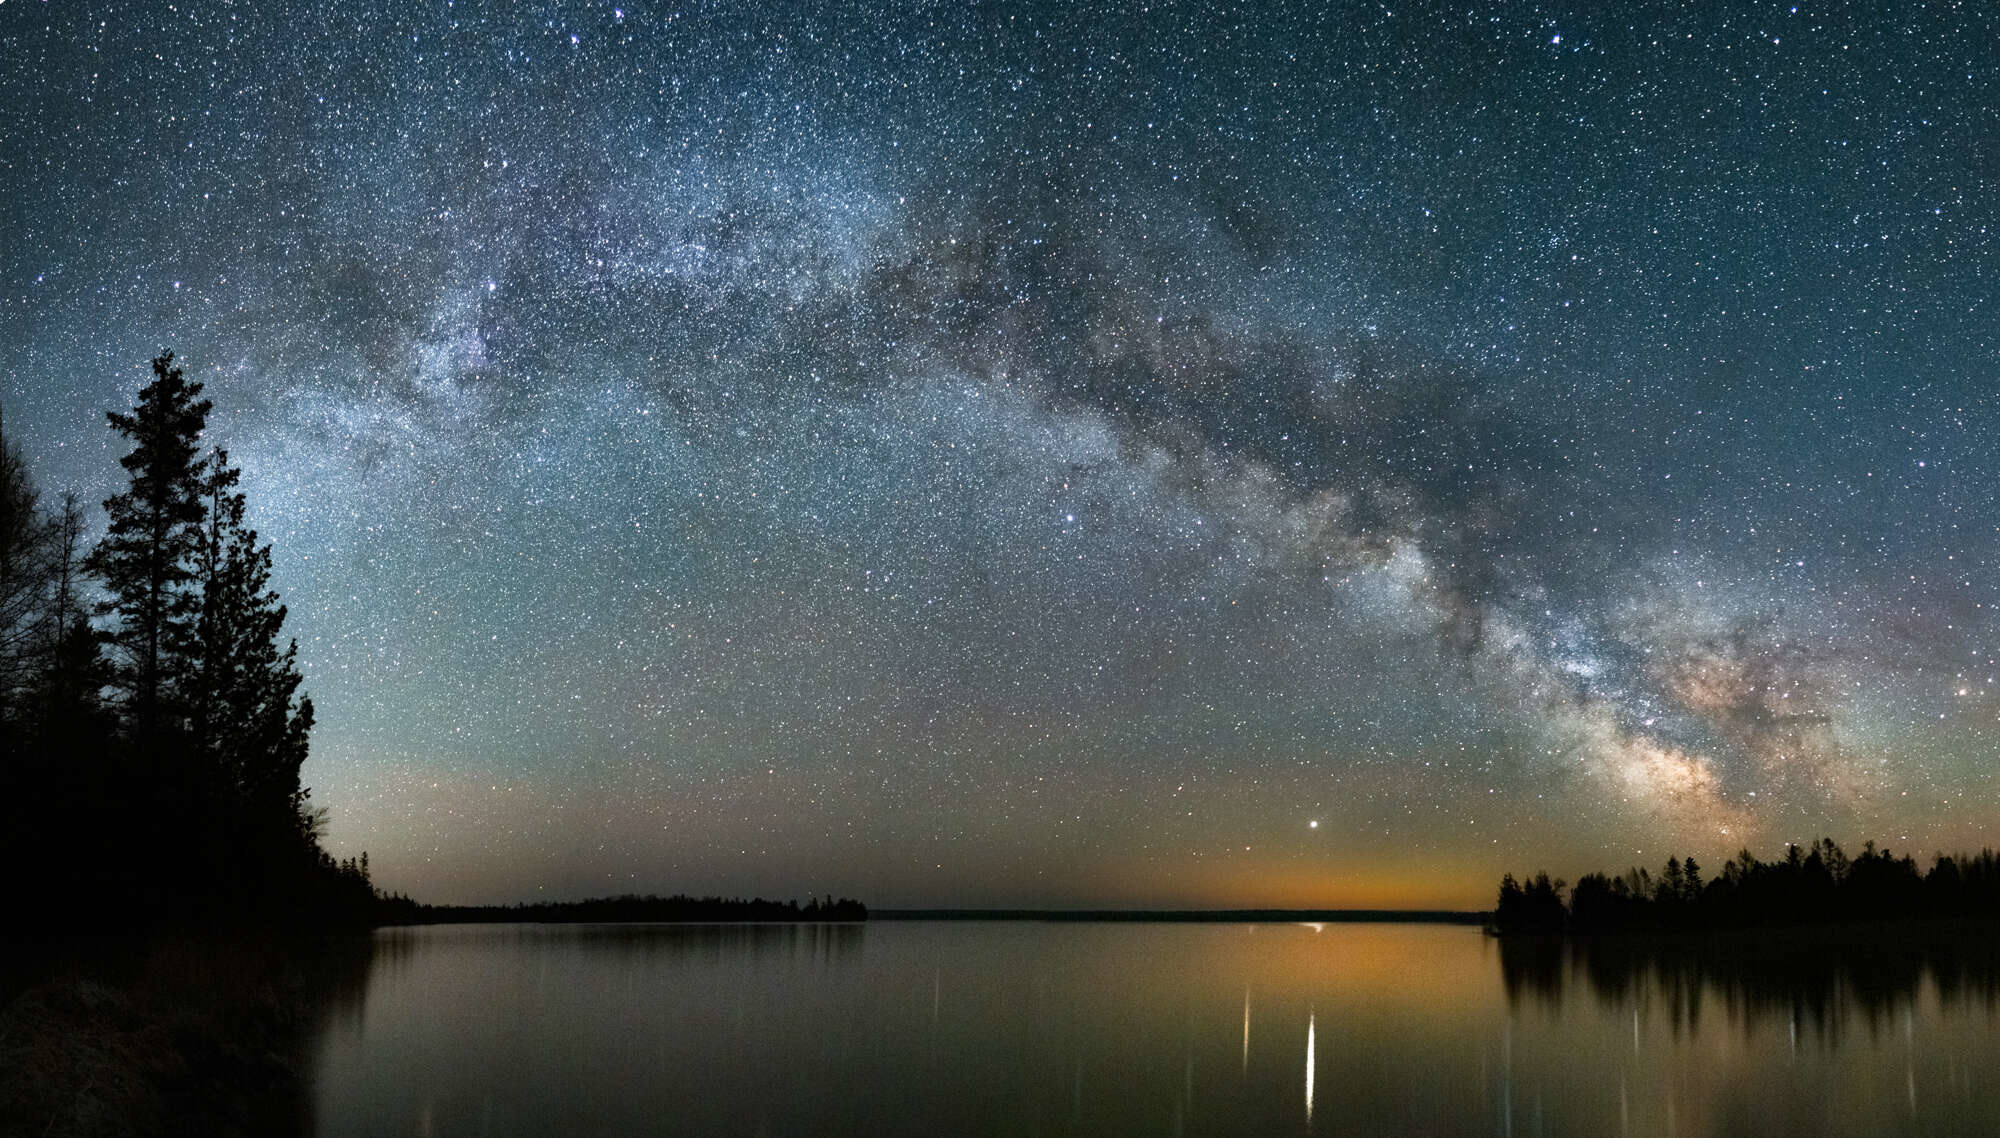
OM-D E-M1 Mark III | M.Zuiko 12mm F2.0
15s | F2 | ISO 3200
Composition
Scout Out a Site – You don't realize how difficult is it to find things in the dark until you're looking. Even locations that you are intimately familiar with can be very difficult to navigate at night. Ensure you have a good headlamp or flashlight.
You've Seen One Milky Way, You've Seen 'em All – Great landscape images are often about the point of interest that the photographer chooses to include in their photographs. The Milky Way hasn't changed much over the past few million years. What can change is your presentation of it. Include an interesting foreground element, but keep in mind it may lose a lot of its dimension under darker skies.
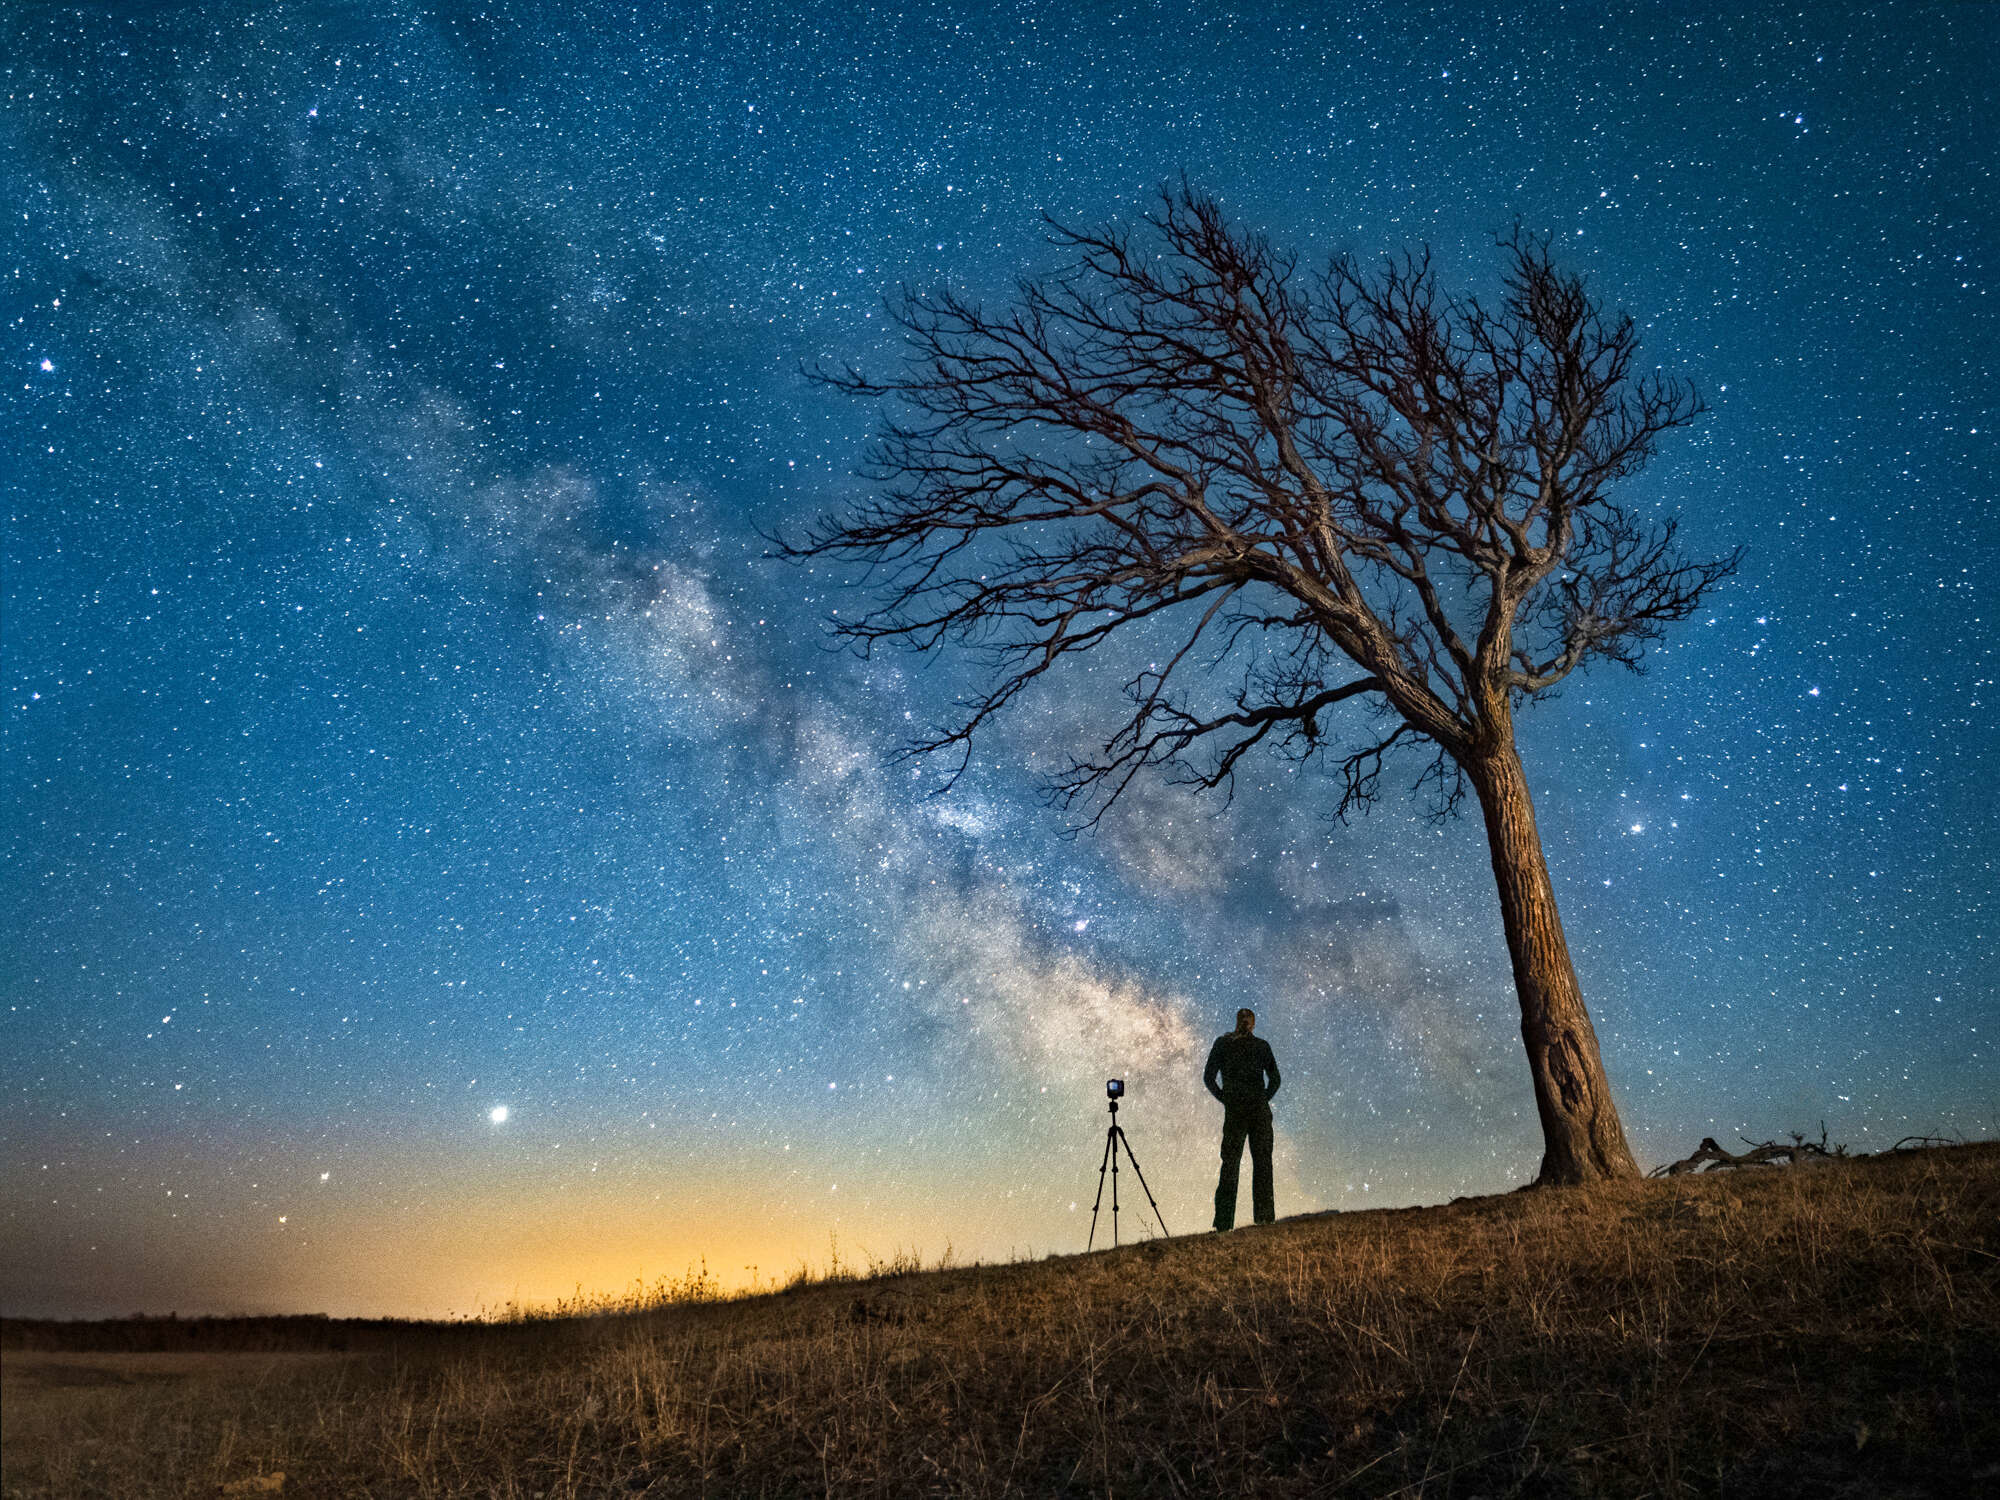
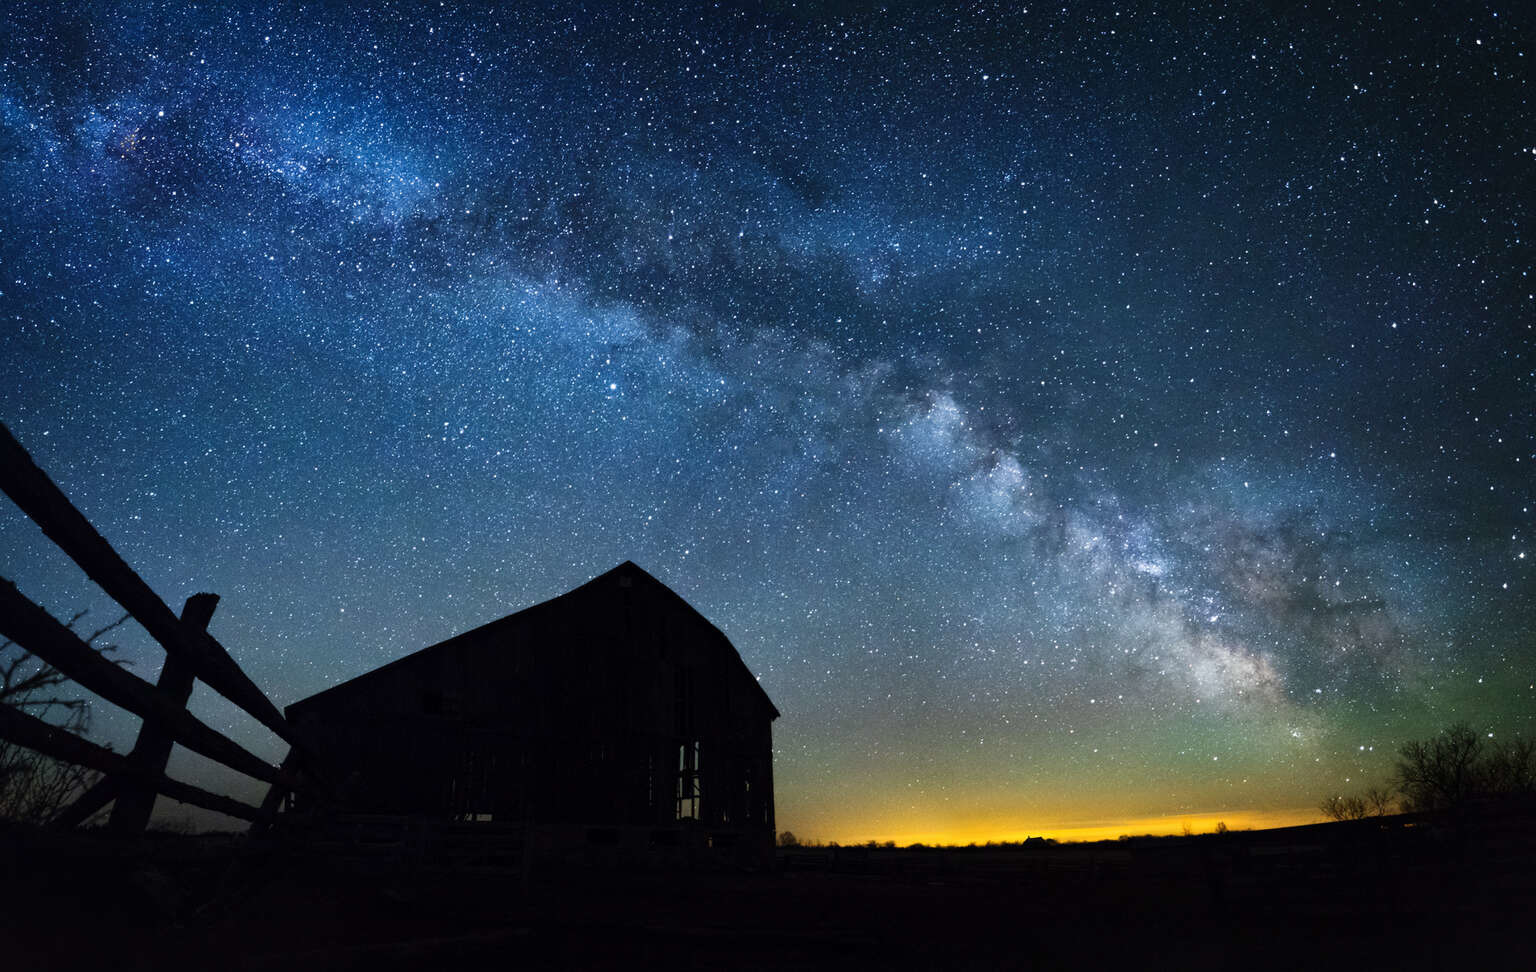
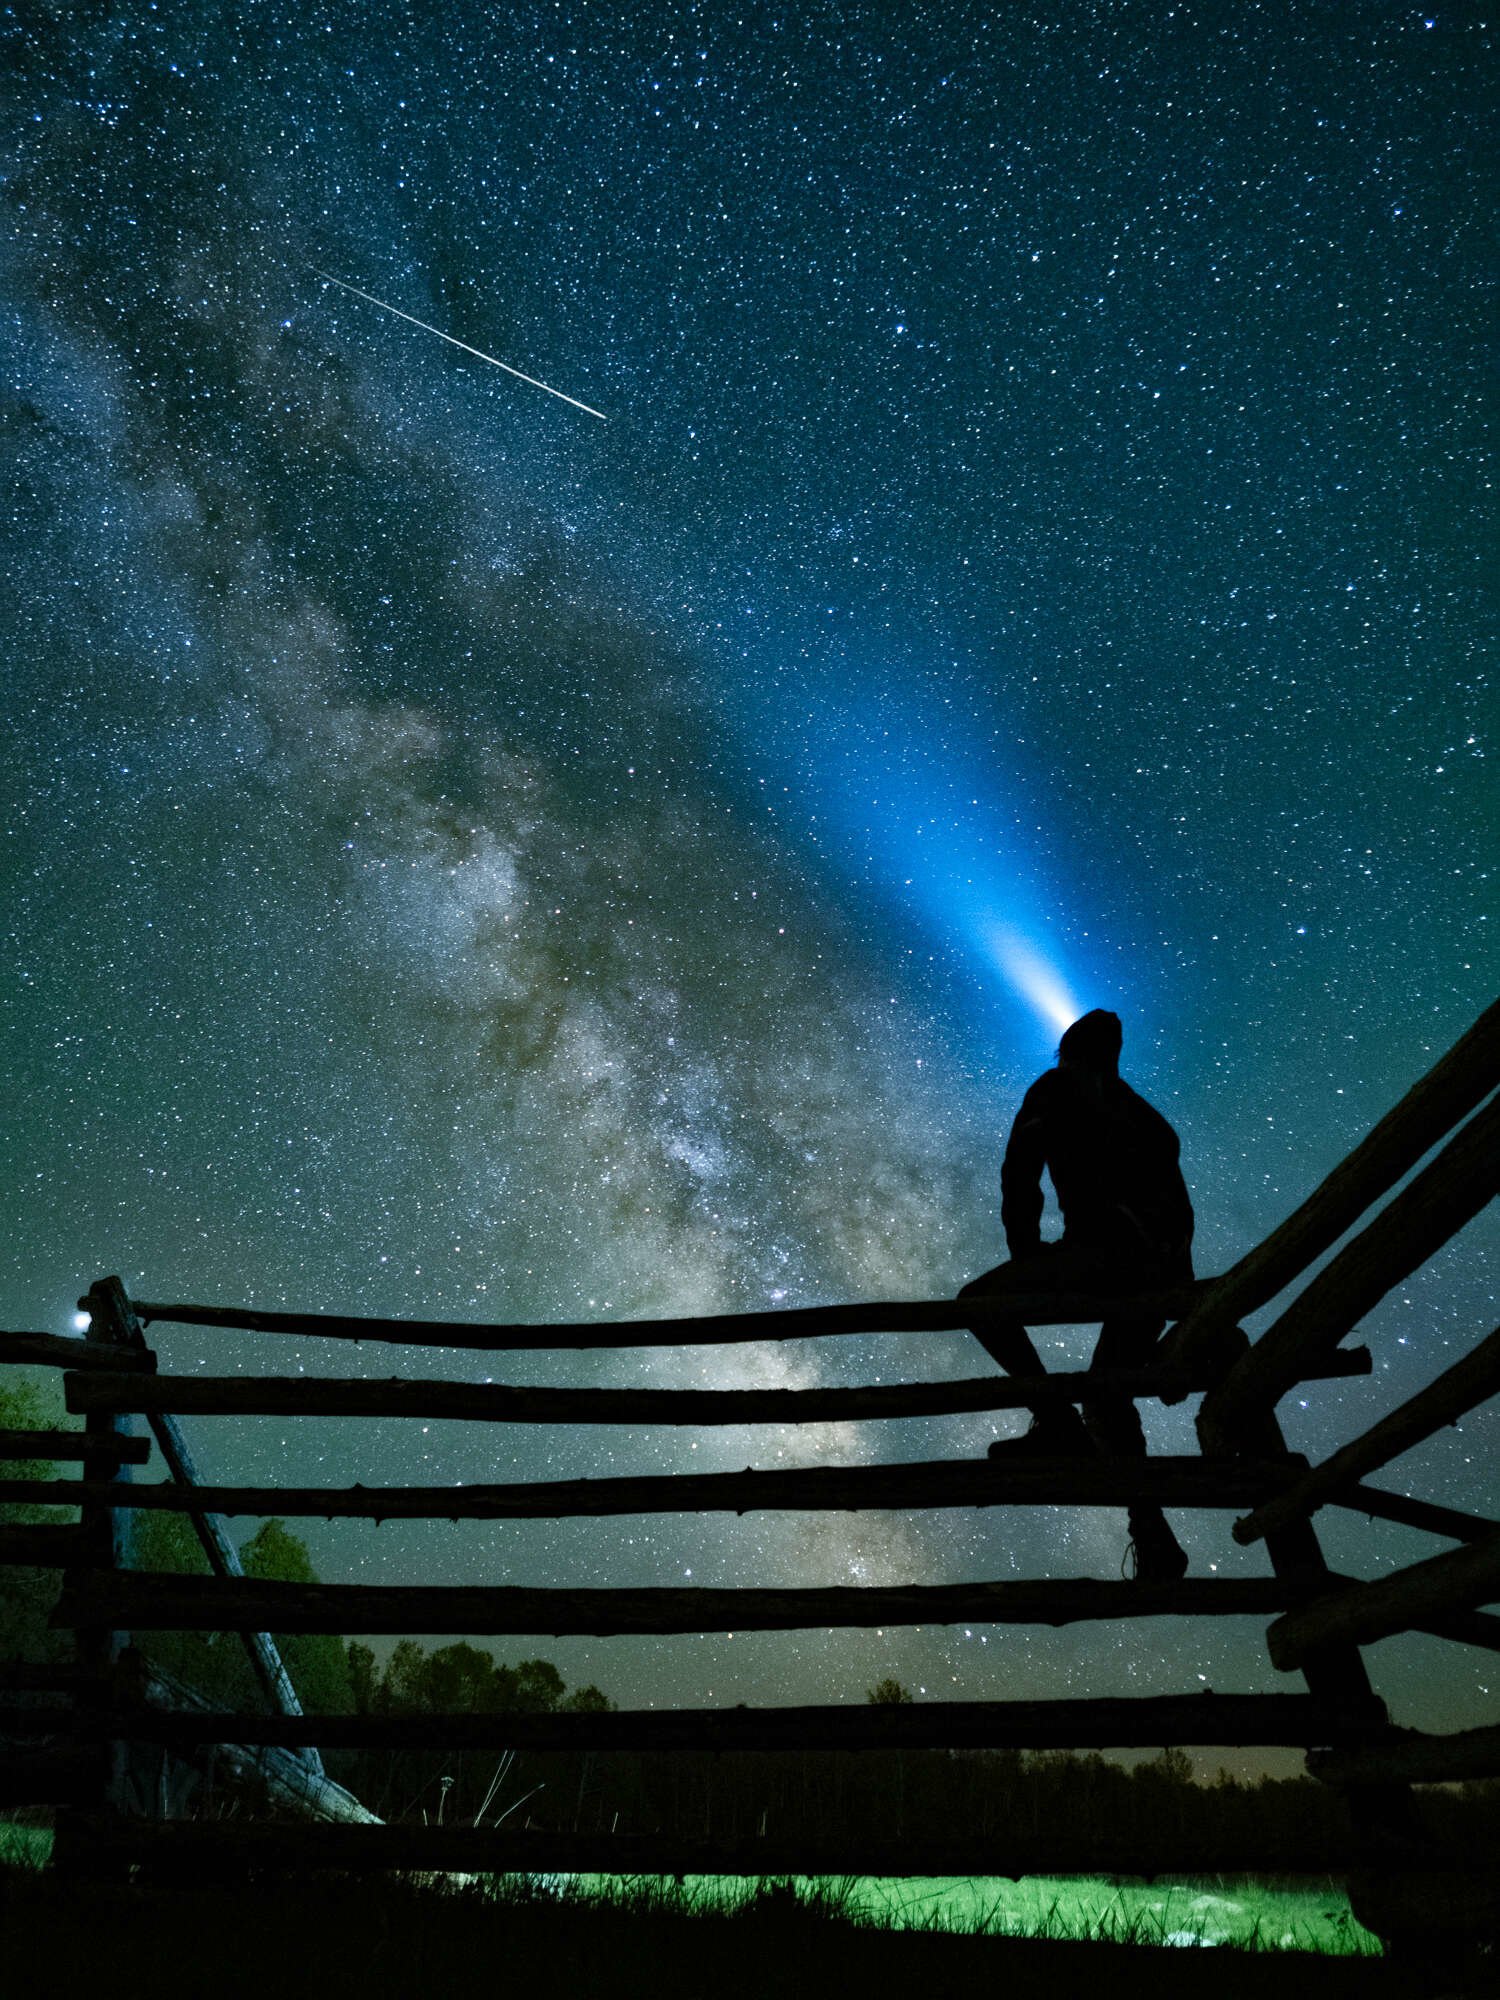
Silhouettes – One of the simplest compositional strategies is to include an interesting silhouette in your foreground – an old building, interesting tree, or distant mountain. Just make sure the object won’t move during the longer exposures that are required.
Light it Up – To add more dimension to your foreground, light it up! Light painting with your headlamp or flashlight is a simple technique, but does require practice. During the exposure ‘brush’ the light over the area you want illuminated, but be careful that you don’t end up with blown out areas where the light was too intense. Many astro-landscape photographers use dimmable LEDs to simplify this process. They provide more even lighting that gives greater control. Even a flashlight app on your phone can be used quite effectively to illuminate your foreground.
OM-D E-M1 | M.Zuiko 12mm F2.0
20s | F2 | ISO 1600
OM-D E-M1 Mark III |M.Zuiko 7-14mm F2.8 PRO
15s | F2.8 | ISO 3200
OM-D E-M1X | M.Zuiko 12mm F2.0
15s | F2 | ISO 2500
Camera Settings
Photographing the night sky can be very unforgiving if you get the settings wrong. That said, once you know the ideal settings for your camera/lens combination they rarely change. As for the gear itself, I use the same camera and lenses that I do for most of my landscape shooting. The important thing is your lens choice. In order to capture as much of the night sky as possible, go wide. Kit lenses can give good results, but ideally you want a faster lens with an aperture of F2.8 or larger. For my nightscapes I switch between four lenses. My favourite is the M.Zuiko 12mm F2.0 lens. It is bright and has a good field of view. Depending on the situation I will also use the M.Zuiko 7-14mm F2.8 PRO, the 8mm F1.8 Fisheye PRO, and the 17mm F1.2 PRO. The extra light gathering capability of a faster lens can make a big difference to overall exposure and clarity. A good solid tripod and a headlamp are also needed.
Set Up Before You Go – Considering your eyes will require time to adjust to the darkness in the field it is easier to adjust your camera settings before you head out or while you are still in your vehicle.
Shoot RAW – Most amateur and many enthusiast photographers are quite content shooting jpegs. For astrophotography you definitely need to make the jump to shooting RAW. This allows the greatest amount of flexibility when post-processing your shots. Think of RAW files as your old film negatives and jpegs as the prints from the photo kiosk. Having good negatives allow you to print photos with subtle changes in processing.
White Balance – Every light source produces a colour cast. Your WB setting helps correct for this. I usually set a custom white balance (CWB) of 3600 - 3800 Kelvin. White balance, or colour temperature as it is also called, is based on the range of colours that a strip of platinum goes through as you heat it. It is measured using the Kelvin temperature scale. If you prefer to use one of the programmed WB settings I recommend Tungsten (or Incandescent). They will give your night sky a pleasant blue tone. Of course, if you are shooting RAW you can adjust this on your computer during post-processing.
Focusing – Go Manual. Imagine focusing your lens with your eyes closed. That's what you are asking your camera to do in the dark. The stars are too faint for the auto-focusing to work effectively. Switch to manual focusing and set your lens to infinity, but don’t trust the infinity symbol on your lens. Instead use the manual focus assist features (magnification and focus peaking). If you are using the E-M1 Mark III then engage Starry Sky AF and it will do the focusing for you.
Aperture – "My gosh those stars are far away. I better use the smallest aperture possible to get the greatest depth of field." Nope! Only half of that statement is correct. The stars really are far away, but to your lens they are simply small points of light all on the same plane. Selecting a large aperture (f/2.0, f/2.8, or f/3.5) will ensure that your lens will gather as much of that light as possible in the shortest amount of time.
Shutter Speed – During the day we are usually measuring shutter speeds in very small fractions of a second. But at night you are fighting against two challenges: the very small amount of available light coming from those distance stars and the spin of the earth. It was only when I started experimenting with astrophotography that I realized just how fast the stars move through the heavens. Set a shutter speed that is too long and you end up with blurry stars, instead of nice sharp pinpoints of light. For your lens and camera combination use the 400 Rule to determine the maximum shutter speed you can use. The 400 rule is fairly simple; divide 400 by the true focal length of the lens and this will give you the maximum shutter speed before star trails will become noticeable. The TRUE focal length refers to the full frame equivalent of the lens (or 35mm SLR equivalent from the film days). This will depend on the crop factor of the camera sensor. Olympus sensors have a 2x crop factor. For my 12mm lens, the calculation works as follows: 400 / (12mm x 2) = 16.6 seconds. I would round this down to the closest available shutter speed. Therefore, an exposure of 15 seconds should result in sharp stars. If you have no intentions of enlarging your images you can get away with a longer shutter speed before you would notice blurring of the stars.
ISO – The final part of the exposure triangle is ISO. The higher the ISO, the more sensitive to light the sensor is. Unfortunately, a higher ISO also results in more noise or graininess. Improved sensor technology has dramatically reduced the amount of noise when shooting at higher ISOs. I typically shoot between 3200 and 6400 ISO. If noise becomes too big an issue in your images try shooting at 1600. It's amazing how much detail can be pulled out of an image that appears underexposed.
Noise Reduction – Dive into your camera menu and ensure that noise reduction is turned on. All of that graininess that I just mentioned will be reduced significantly. You will notice however that your exposures take twice as long. This is because your camera is taking a second photo with the shutter closed (a dark frame), seeing where all the noise is and then subtracting it from the original shot. It slows the photographic process down, but the results are worth it. There will still be some noise left on your image but that can be reduced using software.
Program Your Settings – Since your main settings are not likely to change much from one situation to the next, program them into one of your custom settings (C1, C2, etc.). This will save time on your next outing.
Test Shots – I will finish off by starting again - with composition. Once everything is set I take a few test shots. This is mainly to see whether my horizon is level and if my foreground subject is framed properly. Use the Live View Boost to improve the visibility of your dark surroundings.
Lens Condensation – As the front element on your lens cools during those long nights of shooting it is not uncommon to get some condensation forming. This can ruin your images. Rechargeable lens heaters can be purchased to help prevent this. Another option is to use a chemical hand warmer and an elastic band to attach it to your lens. This has worked for me on a number of occasions.
Apps
A number of websites and mobile apps can help you with your planning. Two of my favourites are Photo Pills and Clear Outside. Photo Pills is a great tool for any landscape photographer, but for astro shooting it will tell me exactly where and when I can expect the Milky Way to rise. This is perfect when I’m travelling to a location that I’ve never shot at before. Clear Outside was designed by astronomers and provides every atmospheric metric you can imagine to help plan the best night to go out shooting.

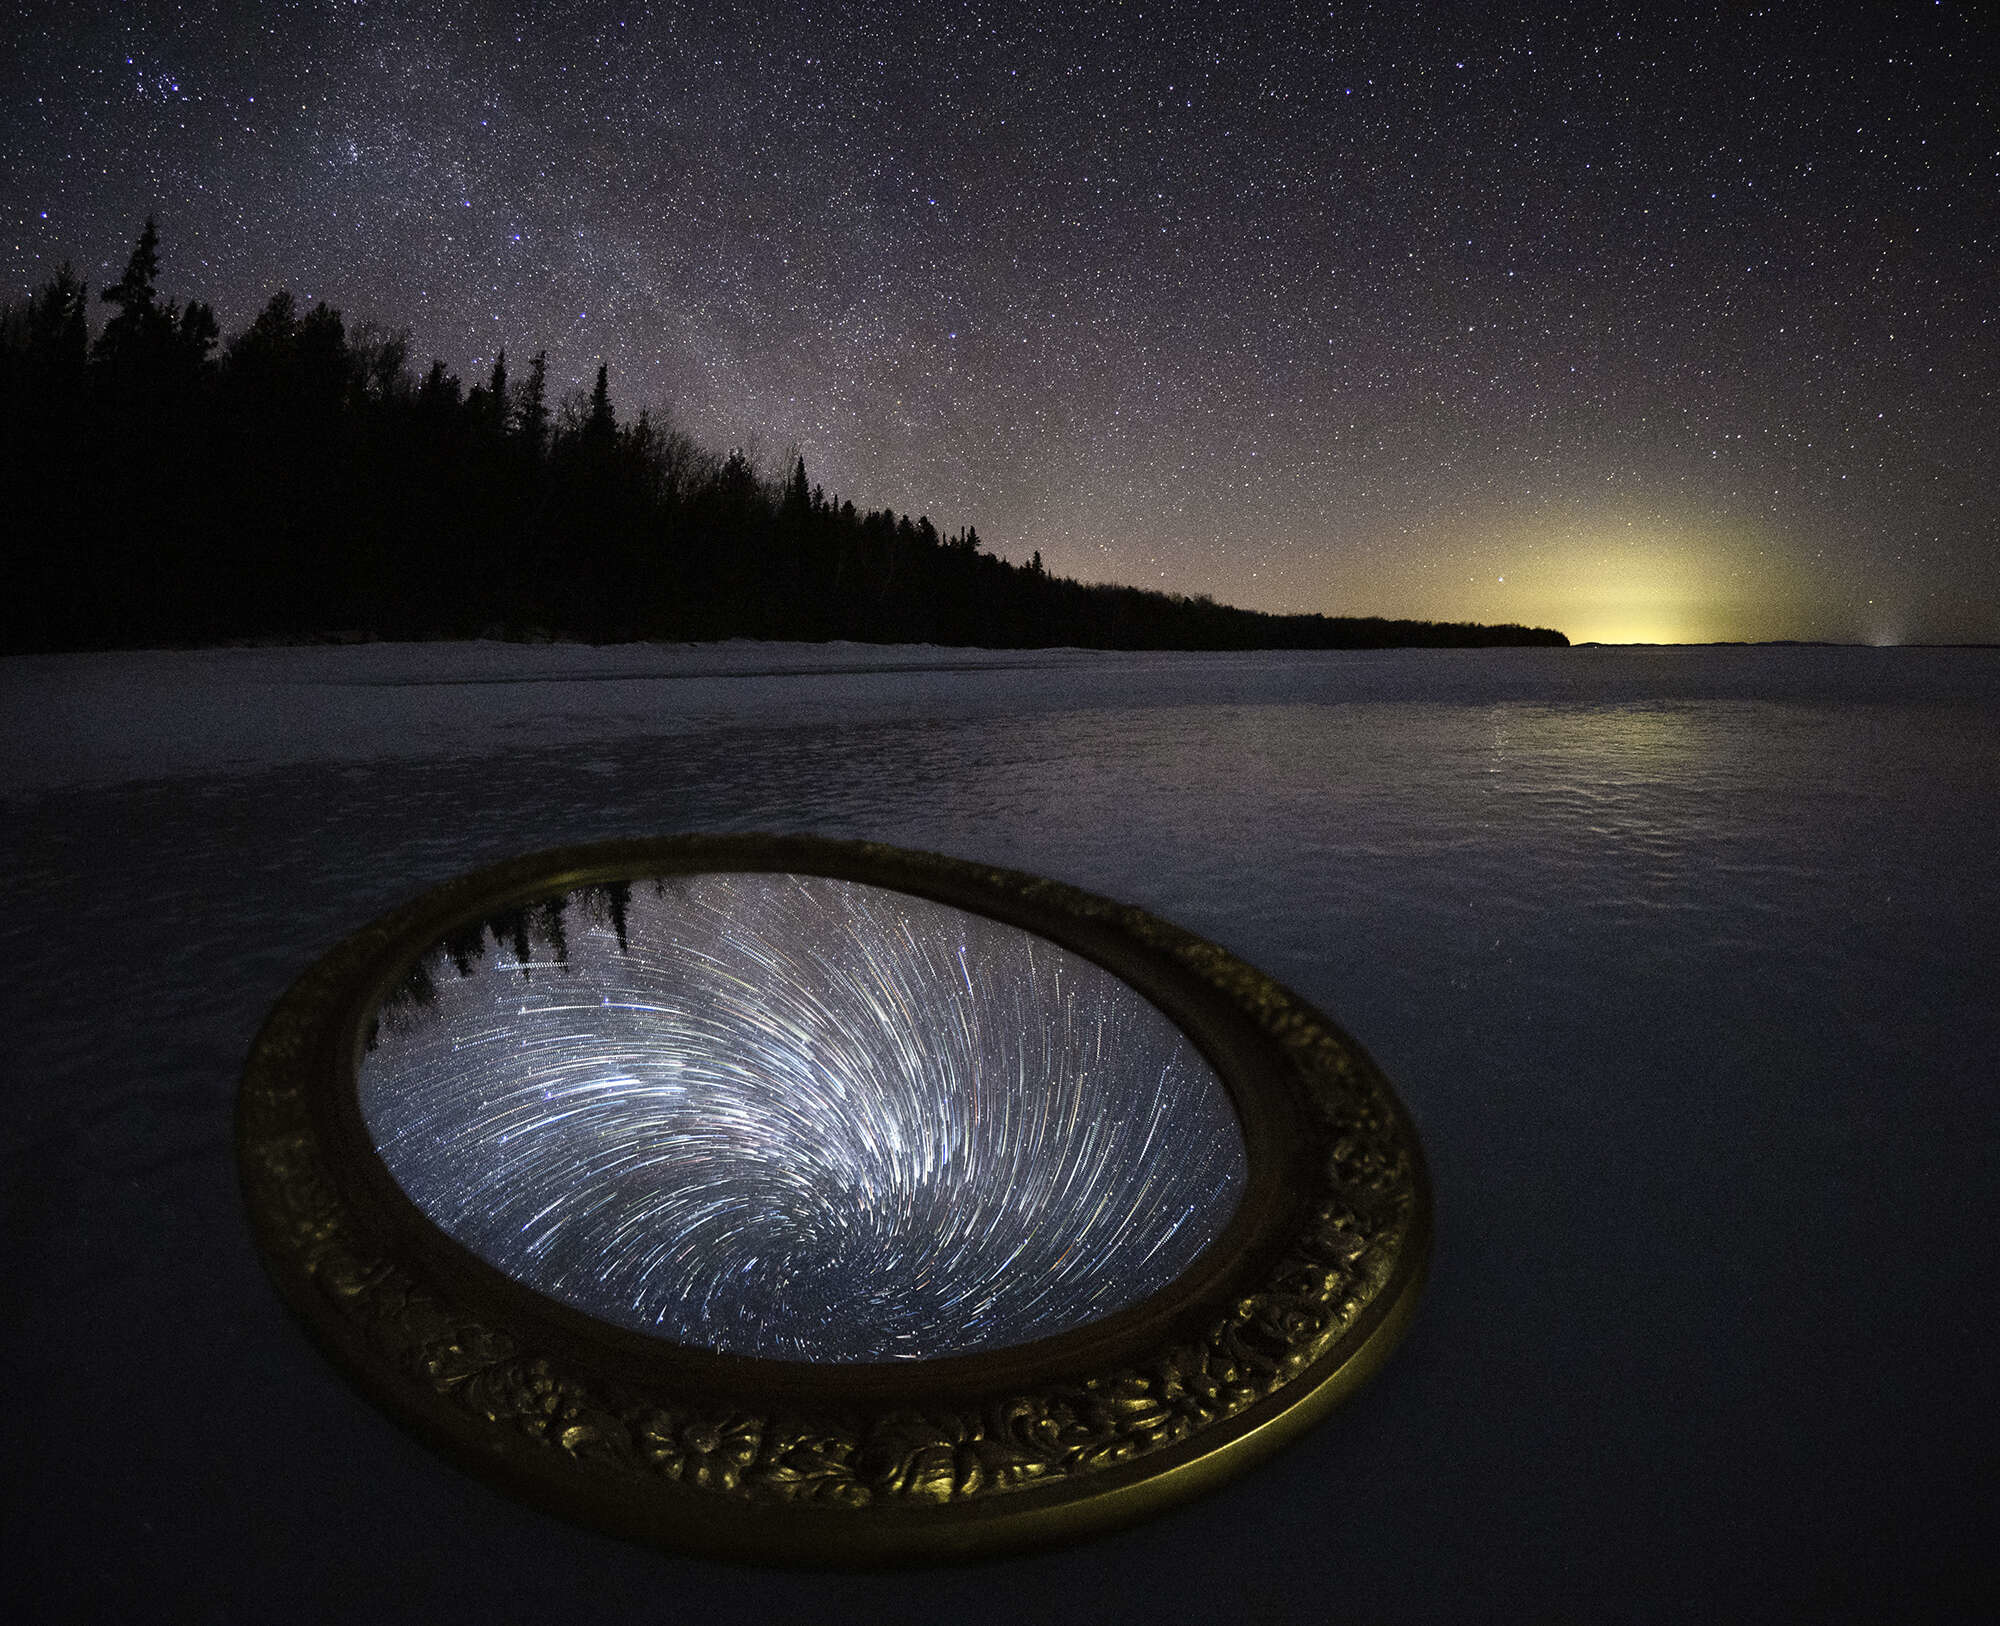
Final Thoughts and Images
When I first started photographing the night sky I didn’t realize how addictive it can be. One of the things that I love most about shooting in the dark is that it forces me to slow down. When I’m out photographing a sunset, I know that the light changes so quickly that I don’t always have time to enjoy what I’m shooting. At night, however the light stays the same for hours. This allows me to be more creative. Even after a few years of photographing the night sky, astrophotography still has its challenges, but I find it to be incredibly rewarding.
OM-D E-M1 Mark III | M.Zuiko 12mm F2.0
15s | F2 | ISO 3200
OM-D E-M1 | M.Zuiko 7-14mm F2.8 PRO
15s | F2.8 | ISO 400
OM-D E-M1X | M.Zuiko 8mm F1.8 Fisheye PRO
20s | F1.8 | ISO 1600
Final, Final Thought
If you’ve looked at the settings for the images in this article you may have noticed that they are almost identical. For example, if I’m shooting with the 12mm F2, I know that I will have an ISO of 3200, a shutter speed of 15s and a wide-open aperture of F2. It rarely changes. I don’t have to spend time thinking about my settings. Instead, I can focus on my compositions and enjoy the beauty of the night sky.
ABOUT PETER
Web: creativeislandphoto.com
Blog: creativeislandphoto.com/blog
Twitter: @creativeisland4
Peter has been a dedicated Olympus shooter for nearly 40 years, and has found a way to combine his passion for photography with his love of teaching to develop photography workshops with a focus on landscape, wildlife and astrophotography. Peter’s work has been published in a number of magazines including Canadian Geographic, Shutterbug and Outdoor Photographer. He maintains his own blog with an emphasis on tutorials that assist others in bringing their photography up to the next level.


